Under step 4 where it mentions placing a check mark on the HTML Signature option, you'd want to do that and then follow these steps.
- Click on the HTML icon which is for editing HTML source code.
- In the pop-up HTML Source Editor window, enter in the following code replacing this image path with your own:
<img src="https://sive.host/logo9x.png" alt="" width="200" height="167" />
- Click on Update to be dropped back to the signature editing page.
- Then click on Save to save the signature.
- Now once this has been done you'll want to click on Settings up at the top-right.
- From the left-hand menu click on Composing Messages.
- Then on the Compose HTML messages drop-down menu, select Always, and then click on Save.
Now when you go to compose a new e-mail, you should see your image automatically appended to your signature at the bottom.
Creating an email signature in RoundCube
- Log into your Webmail dashboard and choose the RoundCube option.
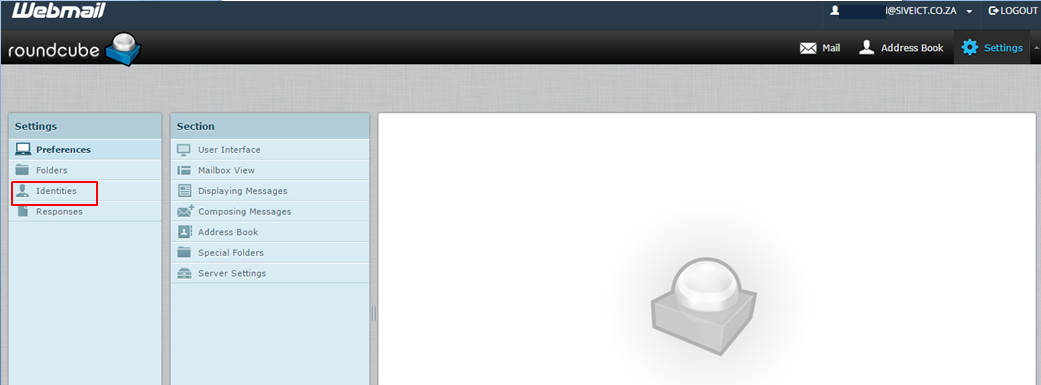
- From the RoundCube dashboard, click on the Settings option in the upper right corner of the screen.

- This brings you to the RoundCube Settings screen. Locate and click on the Identities tab.

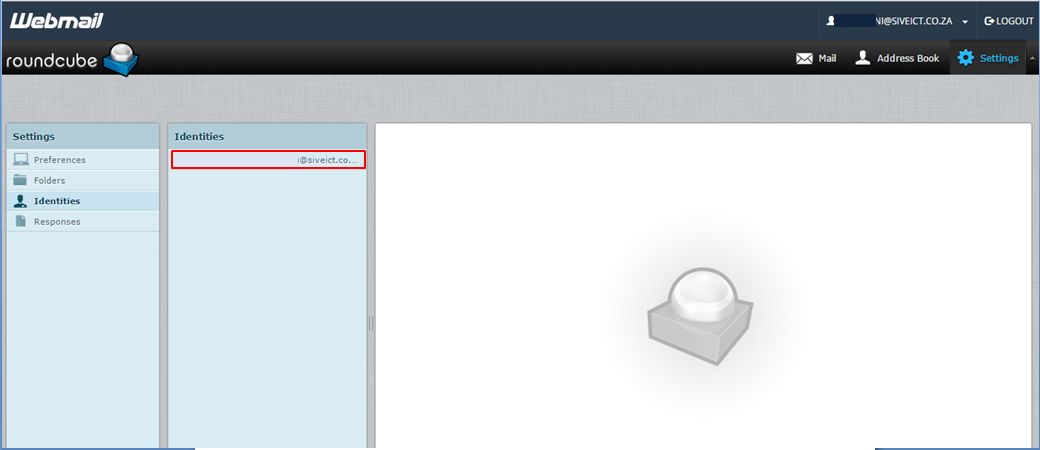
- You are now on the Identities list screen. Find and click on the desired identity in the left hand panel.

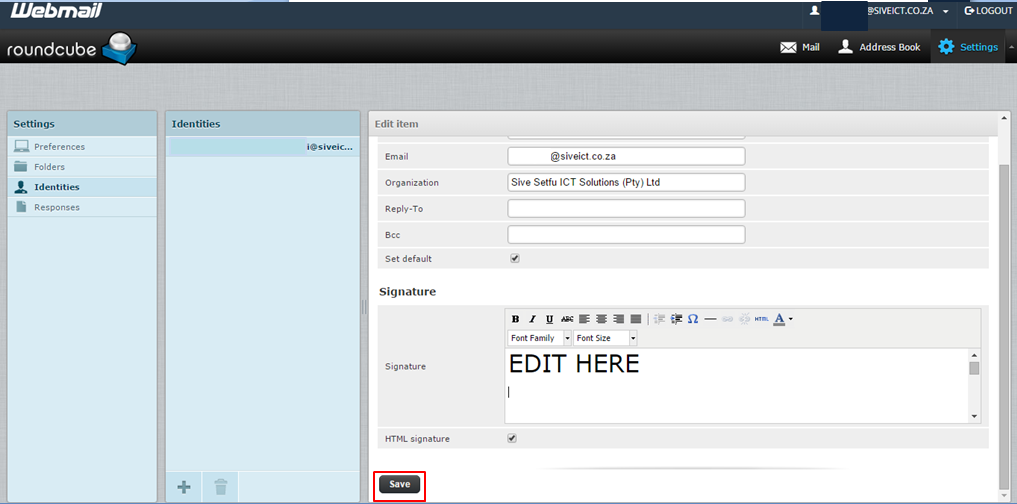
If you wish to use HTML in your signature, simply click the HTML Signature checkbox. This will cause the Signature field to display as shown below, allowing for special formatting.
HTML Signature Box:
- Enter your desired custom signature in the Signature field. Once entered, click on the Save button located underneath the tabs.
You have now created your new email signature!


