Step 1: Log in to DirectAdmin
1. Open your web browser.
2. Navigate to your DirectAdmin login page.
3. Enter your username and password.
4. Click Sign in.

Step 2: Open Softaculous Apps Installer
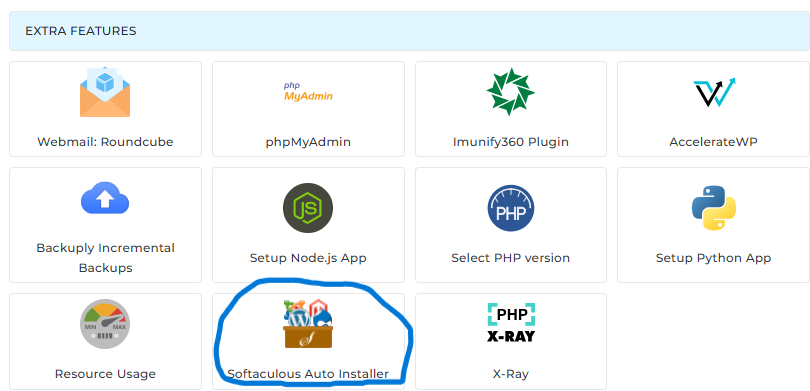
1. From the DirectAdmin dashboard, locate the Extra Features or Software section.
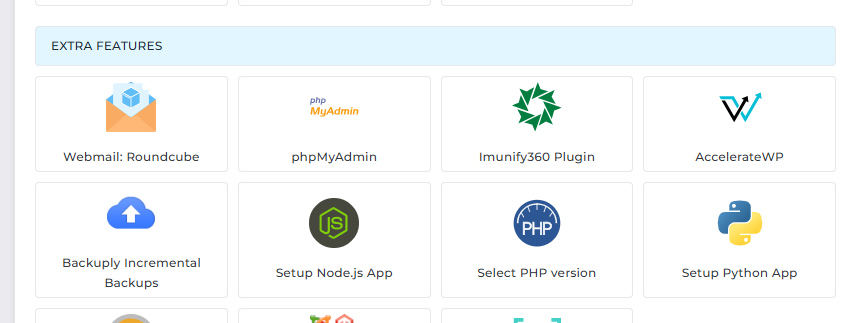
2. Click Softaculous Auto Installer.
Step 3: Select WordPress
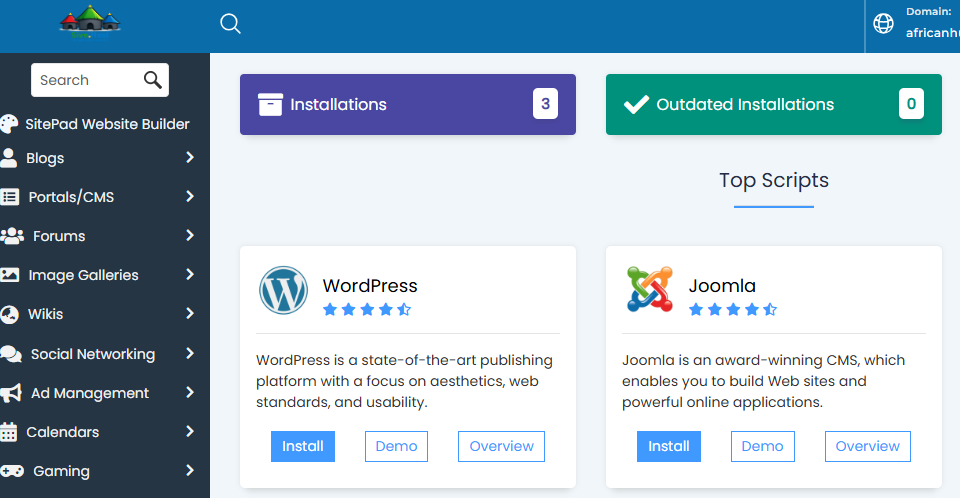
1. In Softaculous, click WordPress from the list of available applications.
2. Click the Install button.
Step 4: Configure the Installation
Complete the installation form with the following information:
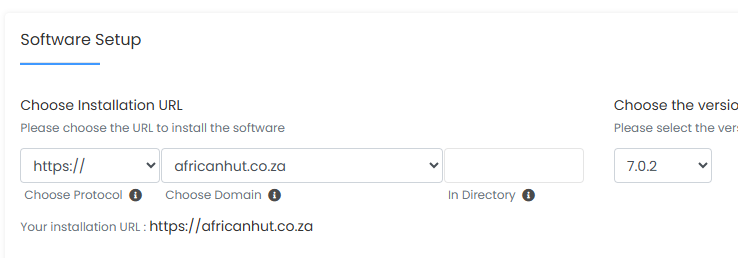
Choose Installation URL
· Protocol: Select https:// if an SSL certificate is installed.
· Domain: Choose the domain where WordPress will be installed.
· Directory: Leave this field empty to install WordPress on the main domain (e.g., AfricanHut.co.za). Enter a folder name (e.g., blog) if you want WordPress installed in a subdirectory.
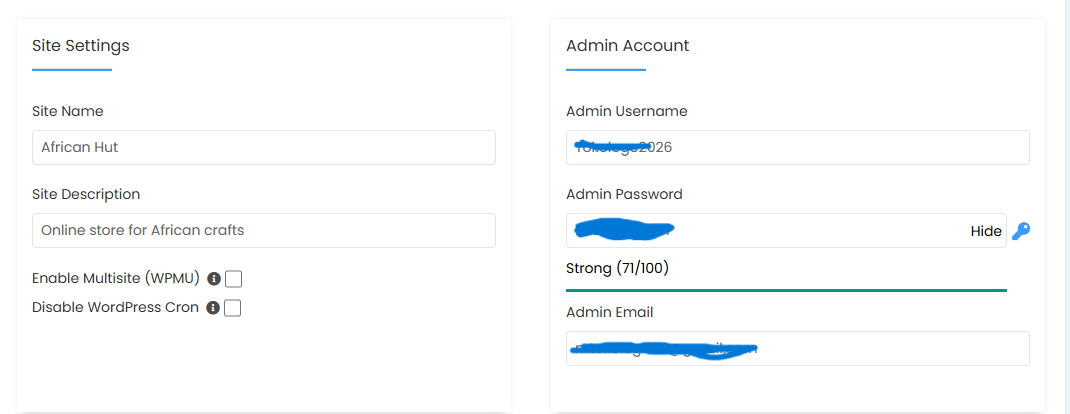
Site Settings and Admin Account
· Site Name
· Site Description
These settings can be changed later from the WordPress dashboard.
Enter the following:
· Administrator Username
· Administrator Password
· Administrator Email Address
Important: Use a strong password and a valid email address
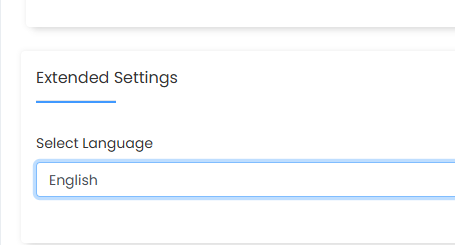
Language
Select your preferred language.
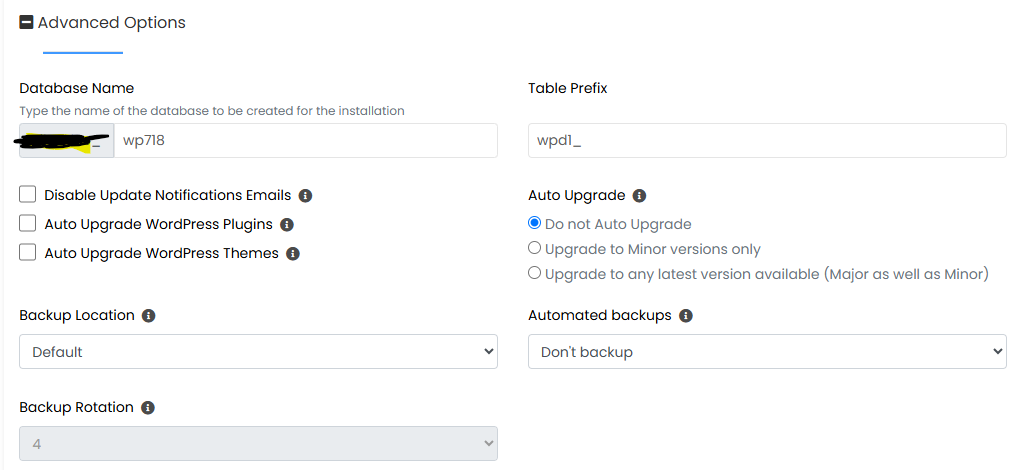
Step 5: Advanced Options (Optional)
If required, configure:
· Automatic updates
· Database name
· Backup location
· Themes and plugins
You can leave the default settings if you are unsure.
Step 6: Install WordPress
1. Review all the information.
2. Click Quick Install.
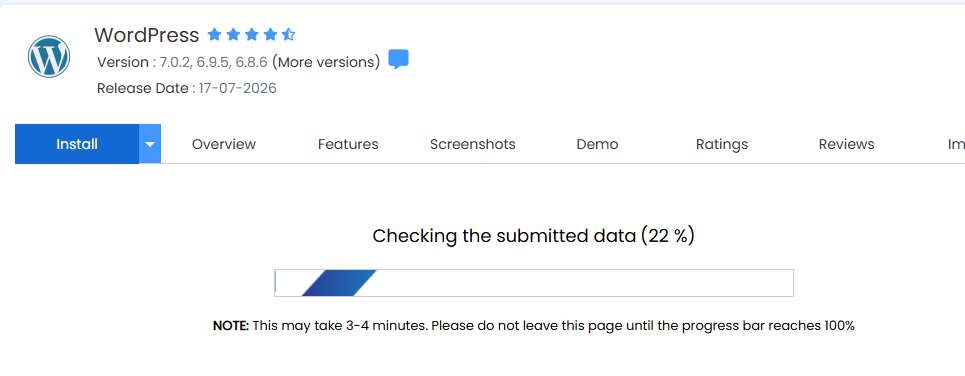
3. Wait for the installation to complete.
The installation may take a few moments.
Step 7: Access Your Website
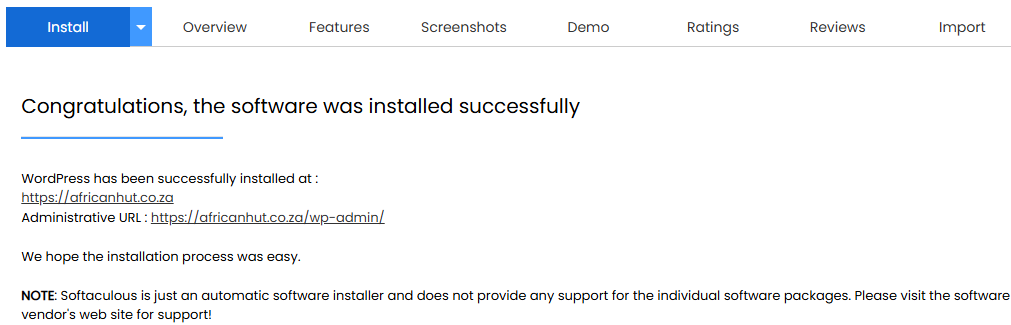
After installation, A congratulations message will be displayed and Softaculous will display two links:
· Website URL – Opens your new WordPress website.
Admin URL – Opens the WordPress login page