
As system administrators, we would have got requirements wherein we need to configure raw hard disks to the existing servers as part of upgrading server capacity or sometimes disk replacement in case of disk failure.
In this article, we will take you through the steps by which we can add the new raw hard disk to an existing Linux server such as RHEL/CentOS or Debian/Ubuntu.
Important: Please note that the purpose of this article is to show only how to create a new partition and doesn’t include partition extension or any other switches.
We are using fdisk utility to do this configuration.
I have added a hard disk of 20GB capacity to be mounted as a /data partition.
fdisk is a command line utility to view and manage hard disks and partitions on Linux systems.
This will list the current partitions and configurations.

After attaching the hard disk of 20GB capacity, the fdisk -l will give the below output.
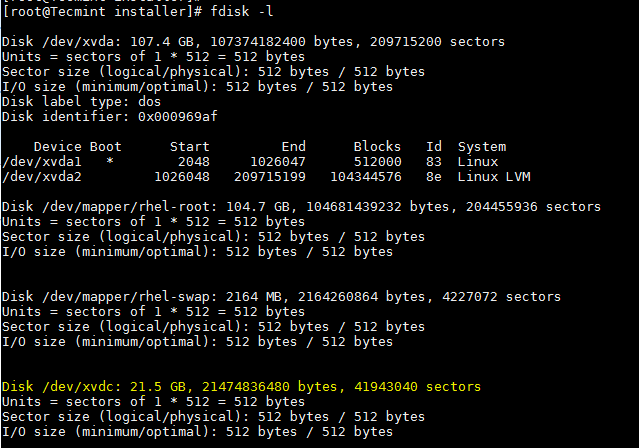
New disk added is shown as /dev/xvdc. If we are adding physical disk it will show as /dev/sda based of the disk type. Here I used a virtual disk.
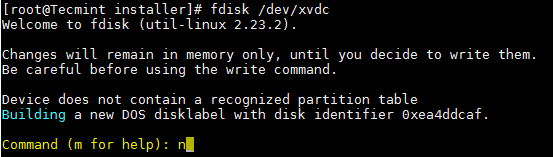
To partition a particular hard disk, for example /dev/xvdc.
Commonly used fdisk commands.
n– Create partitionp– print partition tabled– delete a partitionq– exit without saving the changesw– write the changes and exit.
Here since we are creating a partition use n option.
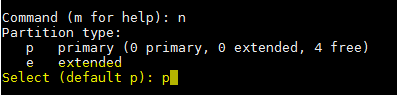
Create either primary/extended partitions. By default we can have upto 4 primary partitions.
Give the partition number as desired. Recommended to go for the default value 1.

Give the value of the first sector. If it is a new disk, always select default value. If you are creating a second partition on the same disk, we need to add 1 to the last sector of the previous partition.

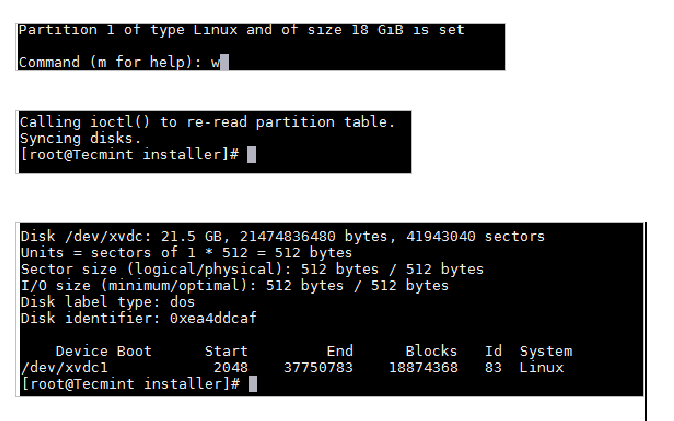
Give the value of the last sector or the partition size. Always recommended to give the size of the partition. Always prefix + to avoid value out of range error.

Save the changes and exit.
Now format the disk with mkfs command.
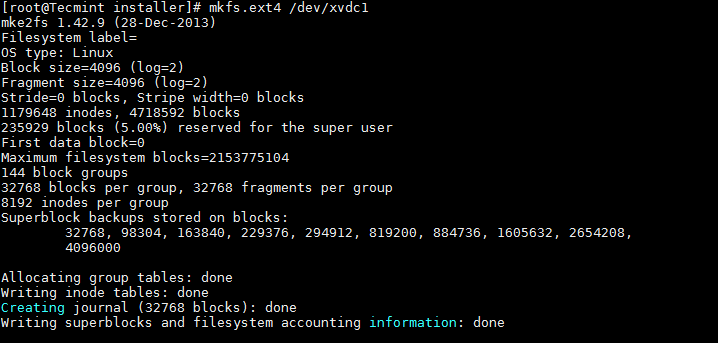
Once formatting has been completed, now mount the partition as shown below.
Make an entry in /etc/fstab file for permanent mount at boot time.
Conclusion
Now you know how to partition a raw disk using fdisk command and mount the same.
We need to be extra cautious while working with the partitions especially when you are editing the configured disks.
